Monday, October 10, 2011

Love Birds: Art Journal Page


I love art journalling and I spend a lot of stolen moments adding paper and backgrounds to my journal so it's ready to go when I have a little spare time.

This page though... wow... I somehow thought it would be a good idea to Mod Podge down pattern paper and then paint the whole thing red. Not artful scrapes and smudges, not stenciling... ALL RED!

It was a horror. So I'd just flip past it and pretend it wasn't a giant hive in my book.

This morning I decided to tackle it one way or another and it is no longer the artistic equivalent of a rash.

(click to see it full sized, please)

The birds are my DH and I 


and the music is our boys. 


Yeah, I'm mushy like that :)


The birds and tissue tape "wings" on the heart were inspired by the current "Things with Wings" challenge at the Simon Says Stamp and Show Blog.

Friday, October 7, 2011

Cake #38 Pumpkin Cake with Cider Caramel Sauce


I want to extend a huge thank you to each and every one of you who has popped by my blog and said hello. As of last night, Made By Nicole has had over 100,000 page views (not counting mine). 
100, 000 is twenty times the people in my hometown! That's a really big number (for me).

When I imagine you trying the recipes I post or going off and taking a crack at the projects I share it really feels great and your comments are the best part of my day.

Thanks so much for all the warmth these past few years. I LOVE blogging for you.

Now on to the cake...


Pumpkin Cake with Cider Caramel Sauce
1 c. sugar
1 1/2 c. flour
1 1/2 tsp. baking powder
1 1/2 tsp. baking soda
1 1/2 tsp. cinnamon
1/2 tsp. salt
3/4 c. oil or, you can take my approach of scooping apple sauce into the measuring cup and then topping it off with oil. This is especially helpful if you live above 5000ft, it gives your baked goods structure and keeps the calories at bay.

1 (15 oz) can pumpkin
2 eggs
1 tsp vanilla my addition
Combine the first 6 ingredients.


Add oil, pumpkin and eggs.


Whisk until blended.


Pour into a greased 9x13 pan.


Bake at 325 for 30 minutes.

(I dropped it on it's way out of the oven creating a little sink hole... oops)

Cool and top with the sauce before serving.


Cider Caramel Sauce:
Note: we doubled the sauce, this recipe is the single sized batch, it just didn't sound like enough to pour generously over  slices of  a 9x13 cake


1/2 c. brown sugar
1 Tbsp. cornstarch
2/3 c. apple cider (I used apple juice)
2 Tbsp. heavy cream
1 Tbsp. butter
salt to taste
In a saucepan, whisk brown sugar and cornstarch. Add cider and stir in the cream, butter and salt.


Cook over med-hi heat, whisking constantly, until large bubbles form around the edge of the saucepan, about 3 minutes. Reduce heat to low and allow to thicken, about 2 minutes.

Top with vanilla ice cream if you want and drizzle sauce over it.

Opinion and Assessment: This cake is as easy to make as a from-scratch batch of pancakes so I think it has a place in the casual cake rotation. I used a little less sugar then suggested and added  1 tsp of vanilla. It tasted great. I found the apple flavor in the Cider Caramel Sauce really overwhelmed the more delicate pumpkin and caramel, which was a bit sad as I love caramel and pumpkin. It was also quite tart, not a sugar-bomb in the least. Next time I'll probably make a caramel sauce and skip the cider altogether.

It was "healthy" as far as cake goes, but a big part of that was the reduction of oil and sugar.

My family gobbled it down (no surprise there) and asked to put some of the caramel cider sauce on pumpkin pancakes this morning.  But, no one had to re-think their top five cakes or insisted that this was the one they wanted for their birthday. I'd give it a solid 7/10. Very good, a little shy of great. It's a perfect week night cake.

EDIT:

Next time I think I'll make the cake as written but top it with this sauce instead, it's one of our family favorites.


Maple-Caramel Sauce

½ C Brown sugar
1 TBL Cornstarch
1/3 C Half n half
¼ C Water
2 TBL Maple Syrup
1 TBL Butter
1 tsp Vanilla

Mix brown sugar and cornstarch in saucepan.
Add all remaining ingredients except vanilla.
Cook and stir over medium heat until slightly thickened and bubbly.
Cook and stir an additional two minutes.
Remove from heat and stir in vanilla.
Serve warm.

Warm leftover sauce in the microwave.


Found via Pinterest from Mandy's Recipe Box who found it from a magazine (uncredited)


To  see the rest of my cakes, visit 52 Cakes Project.

Linked Up With:
Tatertots and Jello
Whipperberry

Thursday, October 6, 2011

Photo Banner, Dina Wakley Style


(Click to see these upclose, there's lots of detail.)


I love Dina Wakley's style. She is very near the top of my Top Five Favorite artists list... often in position number one. She rocks the casbah!


When I saw her work on the cover of the newest Somerset Workshop, I decided to host "Dina Camp" for myself. My plan is to work through the four projects in the magazine and hopefully some of her magic will rub off on me. 


It has been ridiculously fun. Those expensive stepped-out magazines are such a great value if you treat them like a workshop instead of just flipping through enjoying all the eye candy.


This banner is the first thing I completed, it's wonderful seeing my beautiful family whenever I walk up the stairs.


Speaking of Somerset Publications, I was ever so overjoyed 
when I flipped through the latest Stamper's Sampler


and saw one of my cards featuring a favorite Stampotique character, Twinkie


I guess I get to update my "Where's Nicole" page. *grin*

Linked up with:

Wednesday, October 5, 2011

Dress form Pin Cushion


DIY Dish starts each new season with a wonderfully creative pin cushion. This dress form was way out of my league sewing-wise but I decided to give it a try anyways because one of my goals for 2011 was to make a 3D sewing project.Kim and Kris's tutorials are always very well explained and do-able so I took a crack at it.

I had to cut the sides twice but otherwise it went together pretty well. It's no work of art but I'm super proud of it.


Be sure to check out DIY Dish, I'm a huge fan of their charming, creative projects and Season Four looks like it'll be their best one yet.

Tuesday, October 4, 2011

My Camera has Fish Eye, Sweet!


" Mom just licked frosting off her camera so I guess we're keeping it"

This sounds like that start of one of those, 'You know you're a blogger when..." jokes.

Last weekend my camera's sweet life came to a sad end. It had been gummed up with baked goods and gesso for years, many months had passed since the last button went missing and it had acquired some startling habits in the error department. But it took great pictures and we were pals. 

Sadly, it didn't like being lobbed across the driveway. Ouch. 

So we got the new version of my old camera and it feels very posh and swanky but still familiar. 

And it has FISHEYE. So I had to fisheye everything (I'm mature like that)... 
especially my long-suffering children.


This LO is based on this weeks Sketchy Thursday design:


And I made it exclusively using scrap paper and bits within reach of my spot at the table. I had been using a large sheet of heavy paper as a mask and it was too lovely to throw away.

I even got to use some awesome Ouchless Cardboard from Gauche Alchemy.


I don't usually take pictures and blog them late at night but tonight it just felt like the thing to do. 

Thanks for stopping by :-)

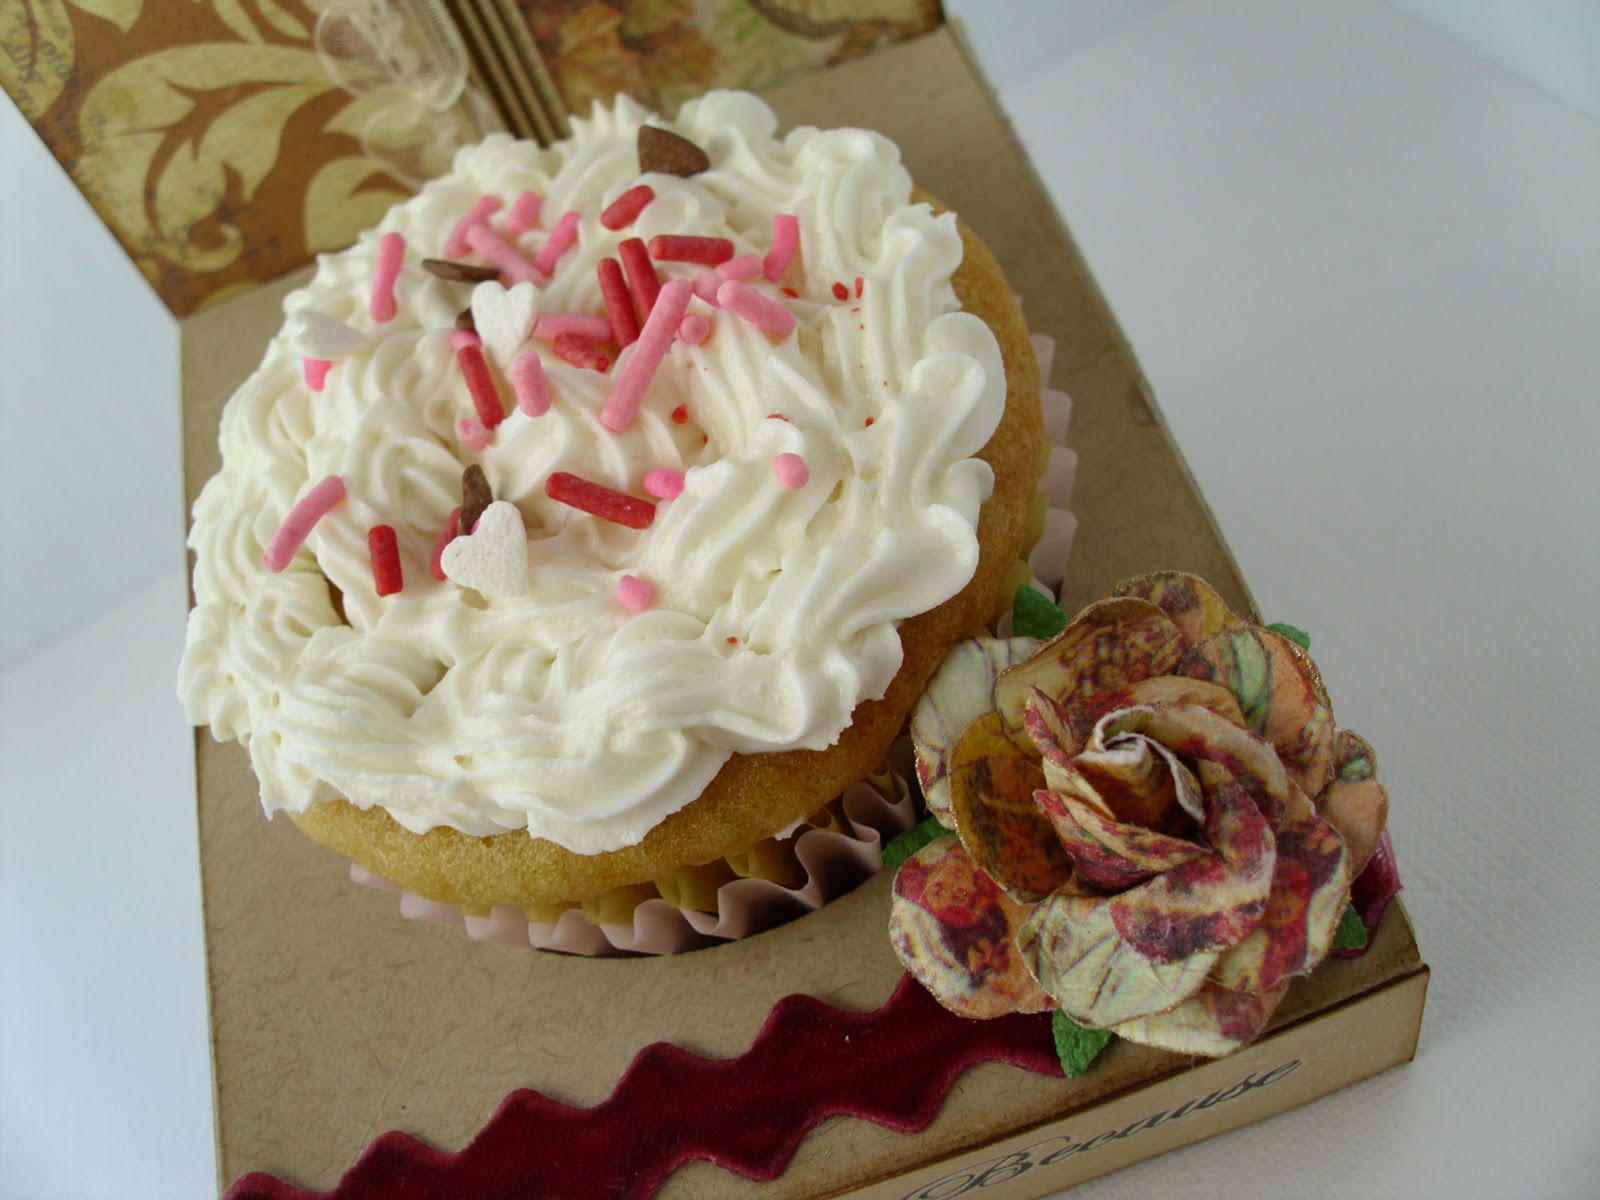
Cupcake Throne

Now that you've baked my very favorite plain old cake from yesterday's post, you should create this adorable cupcake throne to give someone one of your scrumptious treats.


Jan Think posted an amazing tutorial for making a Cupcake Throne and it couldn't have been easier. I'm not the greatest with following diagrams for 3D projects and I found it very straight forward and surprisingly quick to put together.


Then I decorated the base with paper and goodies from the fall CupCards {to go} kit.


I love it when a few simple steps takes a gift from nice to extraordinary.

Linked up with:

Monday, October 3, 2011

Cake #37 (Vegan) Basic Vanilla Cake

My absolutely favorite, never-fails-me plain old cake recipe is one I picked up during my vegan days.  So if you are looking for an egg-free or dairy-free cake recipe this is the one.

It is amazing filled, you simply cut out a cone shape from the cake and fill the hole with mousse, lemon curd, frosting, jam, ganache... endless options.

You can also really mix up the flavor with extracts (almond is wonderful), just use vanilla too. I noticed that flavors are so much clearer without the eggs in a recipe. I think that is why the flavor is so terrific.


Basic Vegan White Cake

Makes:12 cupcakes


1 cup soymilk (regular milk works well too)
1 teaspoon apple cider vinegar
1 1/4 cups flour
2 tablespoons cornstarch
3/4 teaspoon baking powder
1/2 teaspoon baking soda
1/2 teaspoon salt
1/3 cup canola oil
3/4 cup sugar
2 teaspoons vanilla
1/4 teaspoon almond extract or 1/4 teaspoon vanilla extract

Directions:

Preheat oven to 350F and line muffin pan with paper liners.

Whisk the (soy) milk and the vinegar together and let sit a few minutes until curdled.

Beat together the soy milk mixture, oil, sugar, vanilla, and other extracts, if using, in a large bowl. Sift in the flour, cornstarch, baking powder, baking soda and salt and mix until no large lumps remain.

Fill cupcake liners two-thirds of the way and bake for 20 to 22 minutes till done. Transfer to a cooling rack and cool completely before frosting.


So easy. So delicious!


Be sure to check out the other 36 cakes in my 52 Cakes Project