Showing posts with label recycle. Show all posts

Friday, June 27, 2014

Cardboard Stained Glass Window Upcycle


My husband works from home and his office has a cut out space above the door. While I'm sure it serves some unknowable purpose as a design element in an otherwise unremarkable hallway, it is not conducive to privacy in the least. He has video meetings so our options were to be quiet during work hours, be inconsiderate, or fill up that space.

Here is a pic of the hallway so you have a visual.

I looked into ways to fill the space - stained glass, a window... but they all cost a ton of money. 
When you've just bought a new home, a pile of money is not exactly on hand. But what I did have was a pile of cardboard; and to this industrious crafter, it was sort of the same thing.

So I painted and stenciled, mod-podged, spray-painted and doodled.

*HAPPY*


And once it was a big, ole mess of colorful jubilance I blocked out my cathedral windows with a Payne's Gray sort of color. Did you know to make the best grays you mix equal parts black and primary blue and then add white to the color you are looking for. It's so rich and lovely. I go through scads of it. 

I love arched windows. Seriously. I could stare at them forever. 


Cardboard is a terrific sound barrier (especially as there is a piece on each side) and it adds a glorious pop of color in that long, dark hallway.

The way the moulding frames the art really works for me.


Here are some close ups of the office side. I went  little more organic with the 'leading' and I adore it!


The office is still a cherry tomato red. It's certainly a vivacious color but it leans garish. 


Here's a IRL pic - with the paint swatch on the wall, the mess. Reality. 

The art really holds it's own in the space and gives his office that little touch of art it needs.


One more quick shot. Top is the hall way side, bottom is the office side. 


Wednesday, May 7, 2014

Stained Glass: In Progress


Moving generates a whole lot of cardboard so I decided to reframe that thought as moving supplies a whole lot of substrates for art

We'll call this my 'recycling period' so it sounds artsy, K?

My husband has a open 'window' above his office door that sounds just moseys through like you would not believe. And his video chat meetings do not need to hear our history lessons... or worse. 

So I'm making him a 'stained glass' cardboard window filler. I'll post proper pictures when it's done. 


Friday, February 21, 2014

Mermaid Upcycle


When I was at the second hand store I saw a piece of wood that looked like a pickle jar and I snapped it up immediately. My long suffering husband didn't even flinch. He's used to me shuttling perfectly good things out the door in the name of minimalism, simplicity and paring down while dragging home the most egregiously random crap imaginable. 


It was such a neat piece of wood, I couldn't resist. The shape immediately brought matryoshka dolls to mind but it felt too obvious. So I made a mermaid. 

First I blocked out the general shape with paint and a stabilo.


Then I dabbed in some general landmarks with my pinky finger. It's weird that I think of them as landmarks, but it's how my brain works. I thought hair, face, chest and tail were what needed to get in there. 


She went on a diet this step :)

I wanted her hands to be fins but I'm not sure if that came through. Next time I'll add webbed fingers and see if that is better. 


Then I added in shading, texture, pattern, splatter (oh, gold! How I love you!) and stamping. I also extended her eyes, brow bone and gills.


The wood is an inch thick so I was able to wrap some parts to the image around the sides. 
It also stands up on it's own which is nice if you want to display it on a side table.


When my youngest saw her he said, "Cool mom. You have an OC!" I immediately asked for clarification... OG I know, OC? Huh?

Turns out on Deviant Art (his favorite hang out) OC is an Original Character and he thought this mermaid has a similar vibe to my last recycled mermaid project.


Thursday, February 6, 2014

Neon Rock and Roll Envelopes: Tutorial


This is an excellent waiting room/watching TV/sitting in the car craft. After the initial building phase (also very simple) it requires only a few supplies and not a ton of mental bandwidth. I made these on my couch, in a coffee shop and in bed. 

It all started when I ran out of envelopes. I made a note to pick some up and by chance found myself at Barnes and Noble later that day. In their Two Dollar Dot section they had a ton of gorgeous coffee table books which are the perfect size for making envelopes. Since an unfolded envelope is roughly square shaped they are too big for most regular sized books.

The coolest $2 book was this Beatles in America poster book. It had 20 posters plus some pages of text. They were all perforated which made my job even easier. 


Making the Envelope

First you find an envelope that is the size you want to create. This is just a regular A2 card envelope. 
Open it up. If you rip it a bit, patch up the thin spots with tape. 

This envelope served as an adequate template for all 20 that I made but the edges were getting a bit rounded and dented by the end. If you want something sturdier you could trace it onto card stock or chipboard (like a cereal box) but I didn't need to.


1. Trace around the envelope.
I used a black pen so it would show up well. Pencil would be less obvious on the black and white images.

2. Cut out with scissors.

3. Fold.
I scored mine before folding and cut right through several of the earlier ones. A little washi tape fixed them right up and added interest but using a lighter hand, or not scoring at all is likely better. Be sure to burnish your folds so the envelope lies flat. The back of a spoon works great.

4. Glue the bottom flaps closed. 
I used my ATG (dry adhesive) as wet can warp a bit. Glue stick would work well as would tape.


Aren't they just the coolest! I was seriously tempted to leave them like this and just attach a typed address label but I knew I'm loathe to use address labels as I'm usually too lazy. True story. 

So... an additional optional step...

Add a spot for writing in the address

1. Paint a rectangle with a thin coat of gesso. 
In this case every poster is different so I tried to pick a spot that saved the best part of the image.


2. Let the gesso dry completely. 


3. Embellish the spaces, making a frame for the address.


I drew rough sketchy rectangles, circles, ovals or hearts with a black pen and let the ink dry. Then I colored the frames with neon sharpie and gel pens and added doodles like scallops and checkerboards. Nothing about this project is perfect, straight or precious - it's fun, fast, easy and very rock n roll


And now I have 20 envelopes that I can't wait to send in the mail. 

Speaking of, I'm 41 today. To celebrate, leave me a comment if you'd like one of these envelopes filled with ephemera and I'll pick a few of you to send mail to. xxx

Thanks so much for stopping by!

Warmly,
~~~~Nicole


Tuesday, January 28, 2014

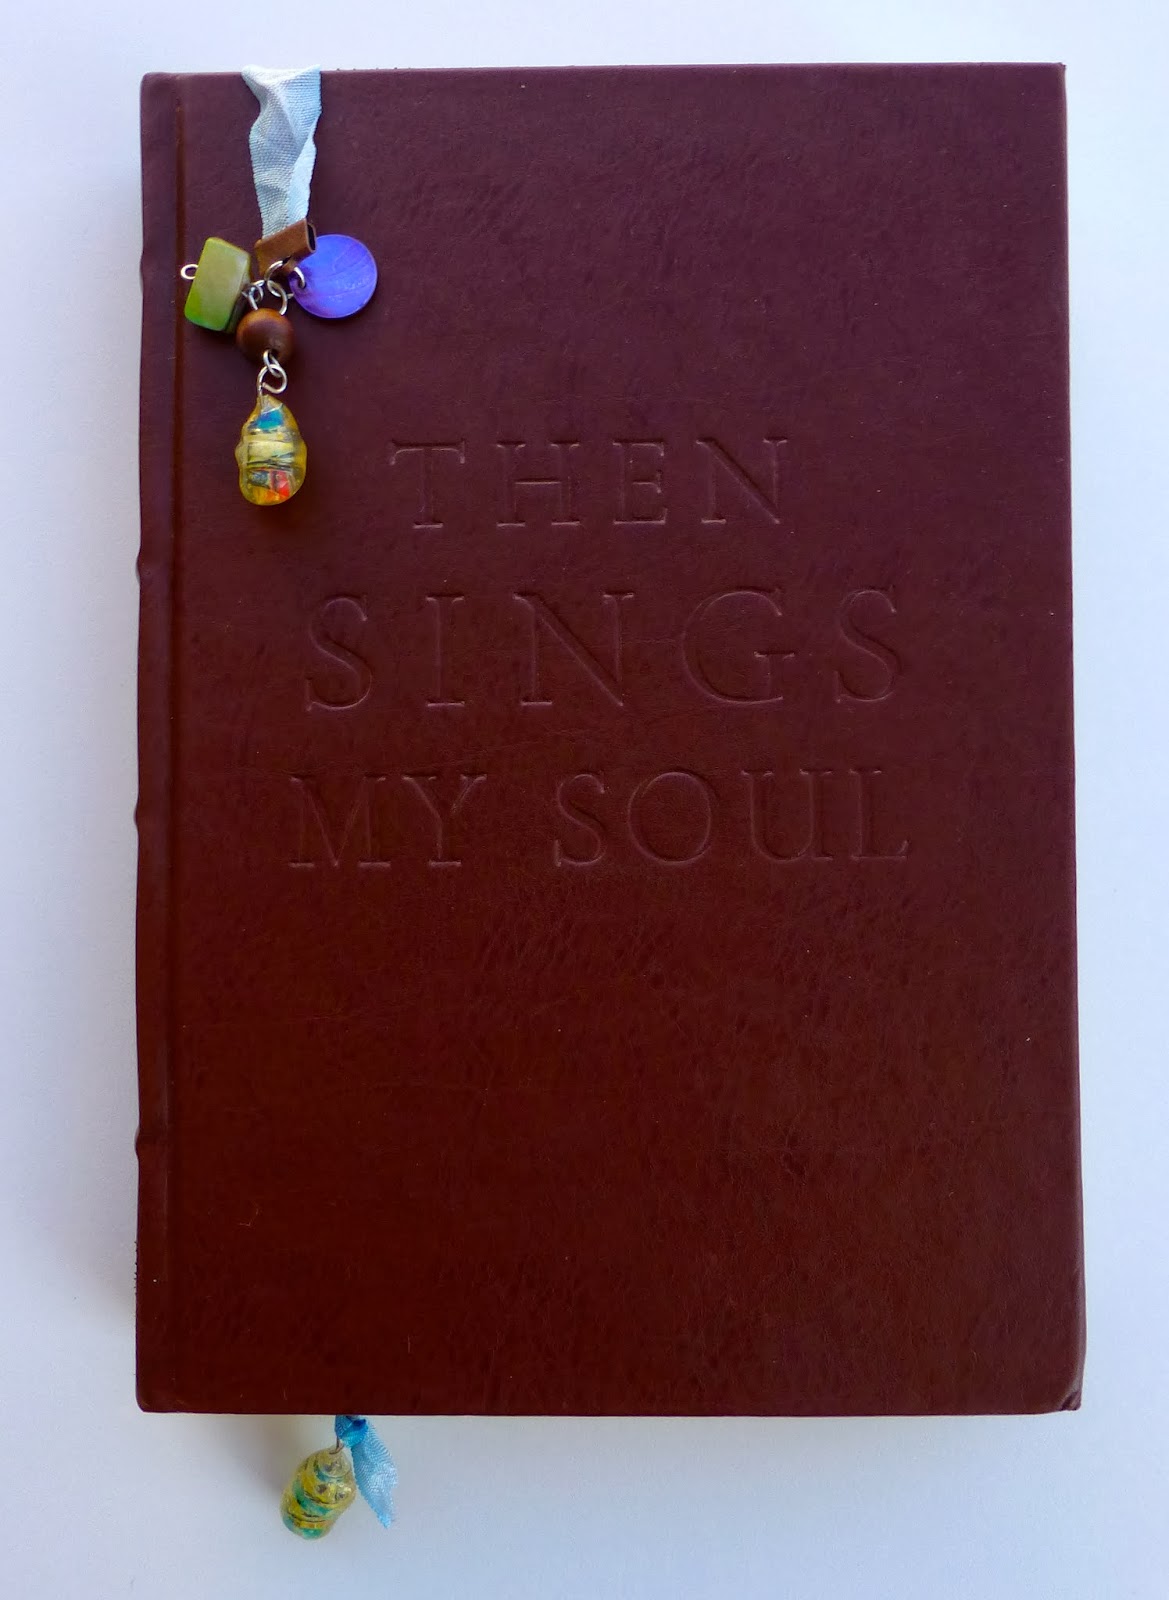
Leandra Beads and Bookmarks


There was an amazing tutorial on Paper Artsy for making Leandra Beads and my youngest and I set out making a batch of them on a quiet Sunday afternoon.


These are a not for the faint of heart. There is non-stop dipping things in molten plastic. 

Fun for kids!


But there really isn't anything quiet like having your art incased in a shiny, marvelous bead.


You start with a paper bead which I made using one of my collages.


And then there is a lot of dipping and swirling. You really must go check out her tutorial.


Aren't they lovely!


I wanted to really showcase each unique bead so I made some bookmarks with them. Just simple seam binding and a clamp. It only took minutes but the result is spectacular.


Thanks so much for stopping by.