Friday, February 7, 2014

PTI: Timer Challenge Valentine's Card

Hey Everyone, I thought it would be fun to try my hand at the PTI Timer Challenge. Here are the details:

The-challenge
Welcome too our first ever Timer Challenge, in honor of the *time travel* theme for Stamp-a-faire this year. You are encouraged to grab a timer and get creative!
  • You have 7 minutes to grab 7 supplies to use on your card.  This needs to include your ink, paper and stamps too, so maybe you should be sure to grab the basics first and go from there!  (You do not need to count adhesive as one of your limited supplies.)
  • Then create a quick card in 17 minutes or less using the supplies you selected!


My supplies (can I say right now how happy I am that I picked full sheets of cardstock? I was going to just grab folded cards but that would have been a giant fail... wait and see.


1. kraft cardstock 2. white card stock 3. Live Love Life stamp set
4. doily 5. red sequins 6. black Staz-On 7. felt heart from Target dollar spot

So I set my timer and got started. First I glued on the doily and then I went to stamp and I didn't have a stamp block. Darn! What to do???

The only thing in my seven supplies that could double as a stamp block was the ink lid but you can't see through it. I have a bad feeling about this.


Oops! Do you think my valentine will notice that "+ ME =AWESOME" is upside down. 

So I used the other half of my paper and tried again.


EEK. Fail. So I flipped it over and tried again. 


Good enough (not great) but now I had to peel off the doily and put it on the new card.


It worked. No rippage. All that was left was gluing in some sequins and applying the self-adhesive heart.


Whew. And I only took 11:29 - time to spare!


Thanks PTI for the fun challenge and Happy Anniversary!

Thursday, February 6, 2014

Neon Rock and Roll Envelopes: Tutorial


This is an excellent waiting room/watching TV/sitting in the car craft. After the initial building phase (also very simple) it requires only a few supplies and not a ton of mental bandwidth. I made these on my couch, in a coffee shop and in bed. 

It all started when I ran out of envelopes. I made a note to pick some up and by chance found myself at Barnes and Noble later that day. In their Two Dollar Dot section they had a ton of gorgeous coffee table books which are the perfect size for making envelopes. Since an unfolded envelope is roughly square shaped they are too big for most regular sized books.

The coolest $2 book was this Beatles in America poster book. It had 20 posters plus some pages of text. They were all perforated which made my job even easier. 


Making the Envelope

First you find an envelope that is the size you want to create. This is just a regular A2 card envelope. 
Open it up. If you rip it a bit, patch up the thin spots with tape. 

This envelope served as an adequate template for all 20 that I made but the edges were getting a bit rounded and dented by the end. If you want something sturdier you could trace it onto card stock or chipboard (like a cereal box) but I didn't need to.


1. Trace around the envelope.
I used a black pen so it would show up well. Pencil would be less obvious on the black and white images.

2. Cut out with scissors.

3. Fold.
I scored mine before folding and cut right through several of the earlier ones. A little washi tape fixed them right up and added interest but using a lighter hand, or not scoring at all is likely better. Be sure to burnish your folds so the envelope lies flat. The back of a spoon works great.

4. Glue the bottom flaps closed. 
I used my ATG (dry adhesive) as wet can warp a bit. Glue stick would work well as would tape.


Aren't they just the coolest! I was seriously tempted to leave them like this and just attach a typed address label but I knew I'm loathe to use address labels as I'm usually too lazy. True story. 

So... an additional optional step...

Add a spot for writing in the address

1. Paint a rectangle with a thin coat of gesso. 
In this case every poster is different so I tried to pick a spot that saved the best part of the image.


2. Let the gesso dry completely. 


3. Embellish the spaces, making a frame for the address.


I drew rough sketchy rectangles, circles, ovals or hearts with a black pen and let the ink dry. Then I colored the frames with neon sharpie and gel pens and added doodles like scallops and checkerboards. Nothing about this project is perfect, straight or precious - it's fun, fast, easy and very rock n roll


And now I have 20 envelopes that I can't wait to send in the mail. 

Speaking of, I'm 41 today. To celebrate, leave me a comment if you'd like one of these envelopes filled with ephemera and I'll pick a few of you to send mail to. xxx

Thanks so much for stopping by!

Warmly,
~~~~Nicole


Tuesday, February 4, 2014

Chunky Wooden Houses

Hello Everyone. Sorry for the light posting schedule, I have pneumonia. And it's our birthday-birthday-anniversary week (his 45th, my 41st our 19th) so the universe has conspired against me posting regular craftiness. 

I'm so tired. Wow. Like breathing in and out is completely, devastatingly exhausting. Hope this passes super-fast.

Did I mention we also are having our floors replaced this week? 

It's kind of a good news/bad news joke as all five of us are in our master bedroom because the main floor is torn apart. It's good timing as staying in bed is pretty easy but bad timing as we're all here... together. I hope listening to me cough and sleep isn't too hard on them. Trying to feed a family of five from our bathroom while sick is a challenge. Wanna see the set up?
Kinda works. It's amazing what you can cook in a keurig. LOL And the crockpot is my best friend. Last night we had chicken taco bowls... which is pretty amazing considering all the extenuating circumstances. It was delicious and smelled terrific.

Now... On with the show!

Back in December I made these chunky wooden houses and I'm just itching to make more. They are so much fun. 
To begin I took some old wood from our garden that had been weathering for years and unscrewed the boards. Then my husband sawed them into house shapes. To do this SIMPLY you just draw an X somewhere on the board from side to side. When you cut along the lines, you get two houses, each with a peaked roof. Just occurred to me that a picture might be worth all the above words, don't mind my sharpie drawing on my youngest math scratch paper. I'm sick.


The colored in bit is the wood that gets wasted. 


Paint a base color. If you like how the wood looks (like the one in the front) leave it exposed.


Add contrasting roofs and sides.


Embellish with paper and bibs and bobs from your stash. 


Some of the details were glued on with matte Mod Podge (like the music paper) and the larger ones were attached with a glue gun. 


All the sequins were nailed in. I took extra care to make sure the nails were all catawampus  for interest. 


It's a great way to use up little pieces left from other projects.


Interweave has a tutorial for these wooden houses in their Art Lessons (that I didn't follow, but it's very good.) Karen Michel's are much nicer than mine. Check them out :-) I totally swiped her wire flag idea - so cute!


Do you have a favorite? 
I've noticed that people seem to gravitate to certain houses over the others and it's fascinating to me to see who likes what.

Tuesday, January 28, 2014

Leandra Beads and Bookmarks


There was an amazing tutorial on Paper Artsy for making Leandra Beads and my youngest and I set out making a batch of them on a quiet Sunday afternoon.


These are a not for the faint of heart. There is non-stop dipping things in molten plastic. 

Fun for kids!


But there really isn't anything quiet like having your art incased in a shiny, marvelous bead.


You start with a paper bead which I made using one of my collages.


And then there is a lot of dipping and swirling. You really must go check out her tutorial.


Aren't they lovely!


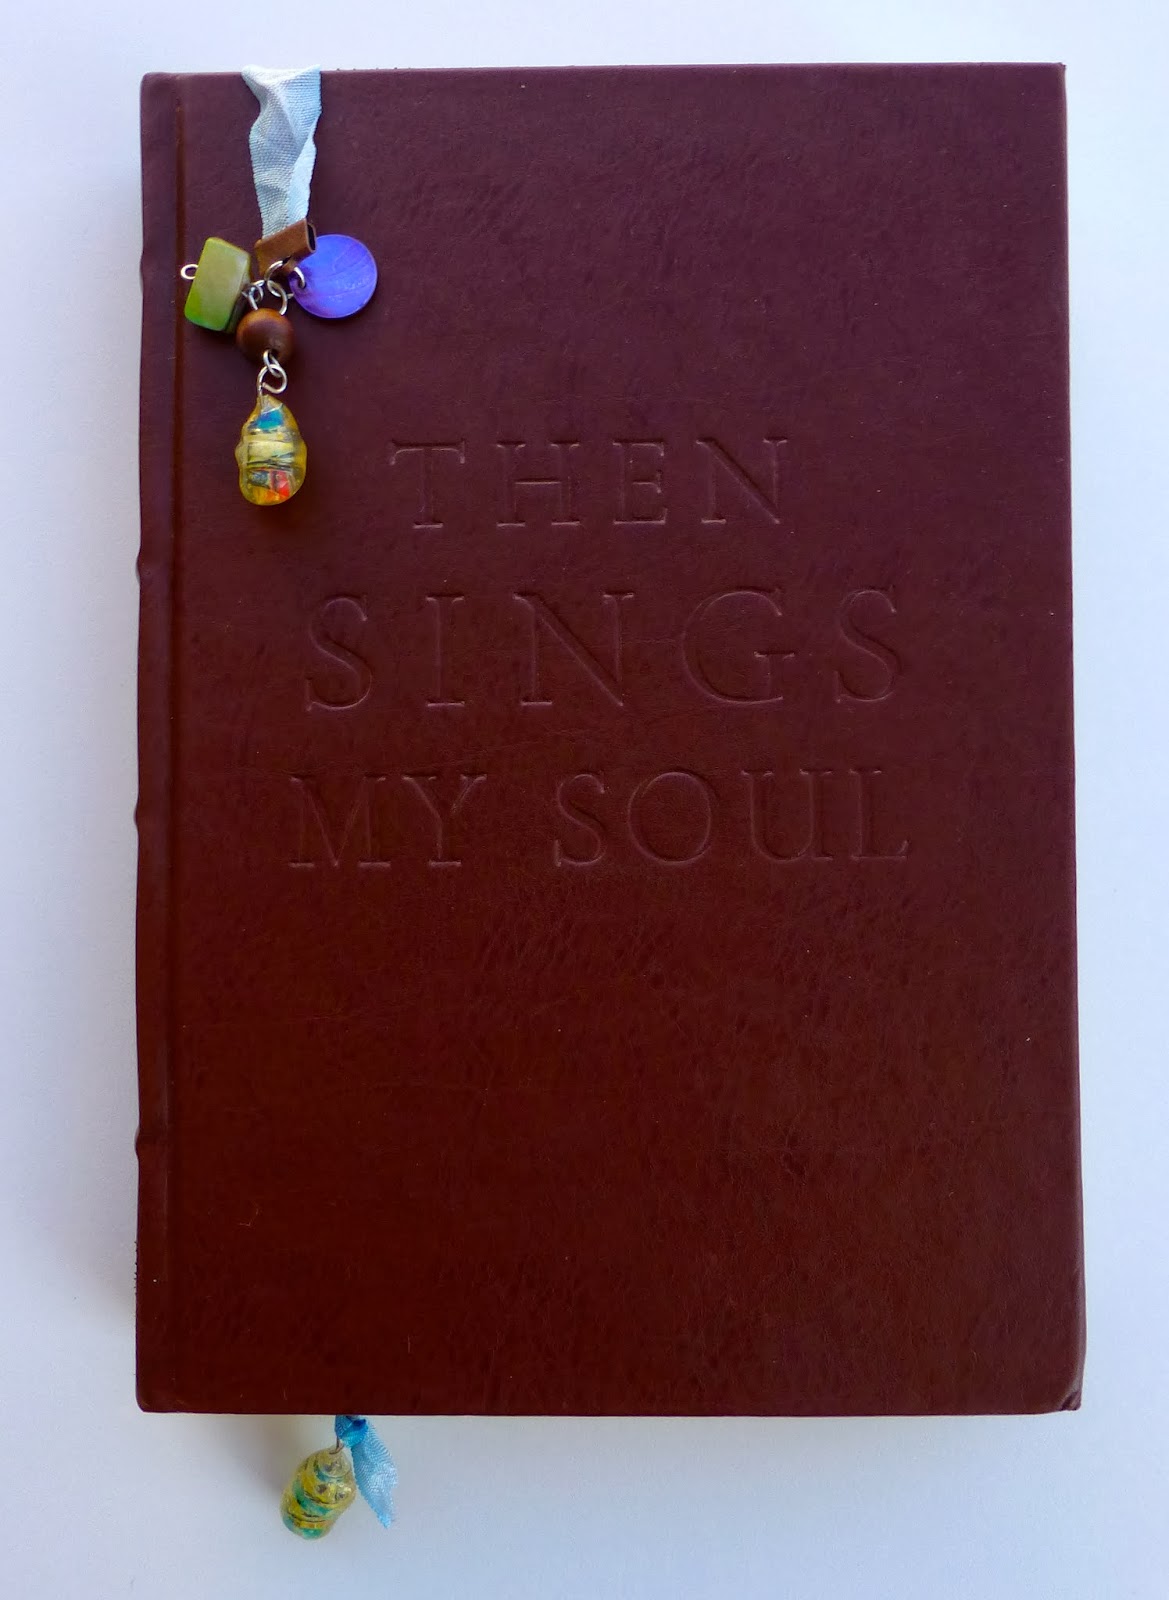
I wanted to really showcase each unique bead so I made some bookmarks with them. Just simple seam binding and a clamp. It only took minutes but the result is spectacular.


Thanks so much for stopping by.