Showing posts with label house. Show all posts

Monday, May 9, 2016

Stamped Gelli Print Wood House

For number eleven of my Hearts and Houses challenge I was inspired by the current prompt at Paper Artsy: Mono-printing

You know this topic is dear to my heart as I'm a huge Gelli Plate enthusiast.
I only had a little tiny sliver of time so I spent it choosing two complimentary mono prints; I wanted to focal image to have neon in orange or pink and the supporting colors to be in the green/blue/teal range. Since these are some of my favorite colors it took moments to find some prints that fit the requirements.

I stamped both of the large images from Lynne Perrella Collection 034 onto the gelliprints and cut them apart to better fit the shape of the house. Then I attached the paper to a wood base. with Mod Podge. To smooth out any wrinkles and bubbles I ran over the paper with a rubber brayer.

While this is quite simple, the detailed stamp and the colorful monoprints pack a powerful design punch. 


Tuesday, February 4, 2014

Chunky Wooden Houses

Hello Everyone. Sorry for the light posting schedule, I have pneumonia. And it's our birthday-birthday-anniversary week (his 45th, my 41st our 19th) so the universe has conspired against me posting regular craftiness. 

I'm so tired. Wow. Like breathing in and out is completely, devastatingly exhausting. Hope this passes super-fast.

Did I mention we also are having our floors replaced this week? 

It's kind of a good news/bad news joke as all five of us are in our master bedroom because the main floor is torn apart. It's good timing as staying in bed is pretty easy but bad timing as we're all here... together. I hope listening to me cough and sleep isn't too hard on them. Trying to feed a family of five from our bathroom while sick is a challenge. Wanna see the set up?
Kinda works. It's amazing what you can cook in a keurig. LOL And the crockpot is my best friend. Last night we had chicken taco bowls... which is pretty amazing considering all the extenuating circumstances. It was delicious and smelled terrific.

Now... On with the show!

Back in December I made these chunky wooden houses and I'm just itching to make more. They are so much fun. 
To begin I took some old wood from our garden that had been weathering for years and unscrewed the boards. Then my husband sawed them into house shapes. To do this SIMPLY you just draw an X somewhere on the board from side to side. When you cut along the lines, you get two houses, each with a peaked roof. Just occurred to me that a picture might be worth all the above words, don't mind my sharpie drawing on my youngest math scratch paper. I'm sick.


The colored in bit is the wood that gets wasted. 


Paint a base color. If you like how the wood looks (like the one in the front) leave it exposed.


Add contrasting roofs and sides.


Embellish with paper and bibs and bobs from your stash. 


Some of the details were glued on with matte Mod Podge (like the music paper) and the larger ones were attached with a glue gun. 


All the sequins were nailed in. I took extra care to make sure the nails were all catawampus  for interest. 


It's a great way to use up little pieces left from other projects.


Interweave has a tutorial for these wooden houses in their Art Lessons (that I didn't follow, but it's very good.) Karen Michel's are much nicer than mine. Check them out :-) I totally swiped her wire flag idea - so cute!


Do you have a favorite? 
I've noticed that people seem to gravitate to certain houses over the others and it's fascinating to me to see who likes what.

Monday, April 22, 2013

Renovations

Sorry my posts have been somewhat infrequent.

We've been doing this:


Because we were moving.  

I gave away half our stuff and packed up everything else into boxes.

THEN WE DIDN'T MOVE! 


So, we looked at all the missing furniture/stuff and decided it was a really good time to fix up the place.

We needed to repair things


because our builder was an ass and did a very crap job of just about everything. 


There was  A LOT to fix. 


Specifically vast, extensive, (expensive) drywall issues.

 And the ceiling. 

And the niche was sinking, backwards. 
Like it was trying to slink away. Bastard.

*SIGH*


And it was time to replace the floor...

New floor = Pretty

New floors require  new base boards.


And Plinth Blocks. I love Plinth blocks. Saying "plinth" is fun!

Try it :-)


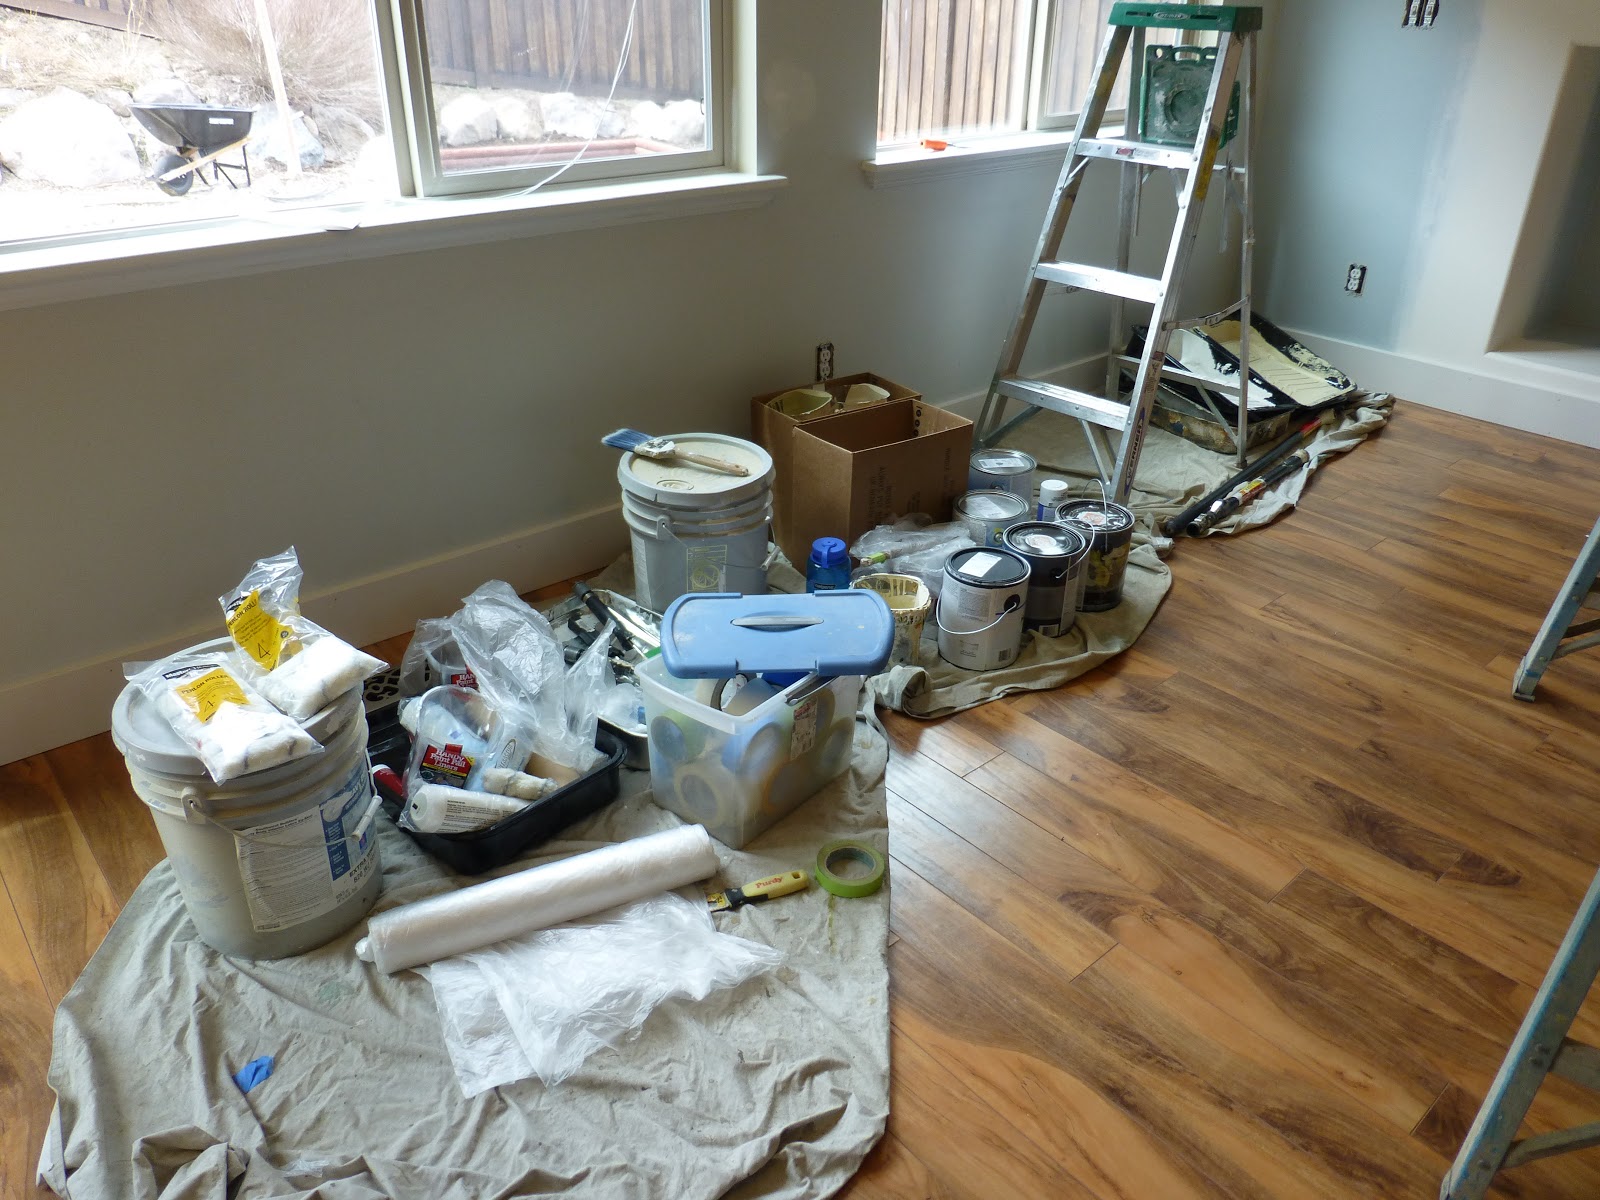
And now the painting has begun.


Look at our boatload of paint! 
Like... a metric boatload which is much, much worse than an imperial one.


I keep hearing rumors about how nice it's going to be once it's all complete. 

I don't believe them.


Friday, August 19, 2011

Dresser Renovation: Before and After


I have a bad history of buying furniture at yard sales or Goodwill (DI) and then stashing it away in my basement indefinitely. Isn't that terrible?

It's just a whole lot of work to refinish something and my plate feels painfully full already. I'm just not one of those bloggers who refinishes a table in the afternoon and then paints her front door that evening. Never will be. I'm clumsy and prone to spills - things never go as planned. Never

Which is why I'm so pleased to have a furniture before an after to share. It's rare as unicorn tears.

Since I'm confessing, my husband and I haven't had a dresser since our house burned down in 1997. We've had several homes, several cars, several a-whole-lot-of-things, but never a dresser. It just failed to be a priority - especially after making do for fourteen years. So when I saw a dresser and end table set (end tables! We haven't had those since '99 when a homebuyer wanted us to throw ours in with the house) at DI for $55.00 I brought it home.


It was in rough shape. See.


Sanded:


Ta-da!


Can I show you my favorite part one more time? Check out the snazzy drawer lining. Me and The Podge got up close and personal. Viva la gift wrap!


Doesn't it totally remind you of this:


Linked up With:


Tuesday, June 21, 2011

Sewing Space Part One - Tiered Organizer

I'm working on transforming my desk in the hall "sewing area" from a catch-all surface for everything from laundry to lego to a nice, organized spot where I can sew without having to move a ton of stuff first.

My goal is to add storage, organizers and a little bit of personal style. I'm only half-way there but I wanted to share my progress.

First up, some cute vertical storage. These are all over the internet, but just in case you needed some tips, I took pics of the process.


Go thrifting and acquire two candle sticks (or really any sort of spacer) and three flat surfaces - like plates, platters etc. I have a burner pan, a round cake pan and a tarnished platter for this one. I bought the "expensive" stuff and it came to six bucks.


Look at all the wonderful tarnish and age!


Make sure the bottoms are flat and that the graduation in size is pleasing.

Try them out, unattached, in the space to make sure the height is right. If not, go find a different size of candle stick - they don't need to match.


Spray paint your candlesticks, or in this case, since I liked the white, I distressed the finish using rough sand paper.


Glue together with E-6000


If there is some sort of trick to this, I'd love to hear it. My tower kept sliding around, I ended drying it upside down.


Fill with your supplies. 

There's lots more to share. So stay tuned :-)

Warmly, Nicole

Tuesday, May 31, 2011

Gallery Shelves: A More Awesome Wall of Awesome


When I saw DIY gallery shelves by Ana-White on Pinterest I knew what our Memorial Day Weekend project was going to be. After five years, our Wall of Awesome was starting to show it's age a bit and I wanted something that would allow easier dusting, more variety and less holes in the walls.

Here's some Wall of Awesome sections

Before:

Pretty cool, no? 
But it's very hard to dust or rearrange and it leads to this:

A giant wall of Not-So-Awesome

So after more patching then I care to recall, we got to paint.

Antique Tin - Behr Premium Plus Ultra

Meanwhile we made shelves. While the ledges are in fact, "Ten Dollar Shelves", and for eight feet no less, they are anything but quick and easy and it took us all weekend to paint them on all sides, several times, and get them up on the wall in a reasonable fashion.

My living room... because it was SNOWING all weekend and too cold in the garage... yes, I am yelling:


Don't believe me? Here's where we planned to grill:


Anyhoo~

Finally at literally the eleventh hour (or 2300 if you're so inclined) we had the shelves painted, assembled and hung. Hooray. I kinda threw the frames up without a ton of thought because it was the middle of the night everything up there is special to us and I know I'll be messing around with them indefinitely. 

The Wall of Awesome, now, Awesomer!


They're so pretty! Well worth the time and effort. 

I have more DIY projects from this weekend to share with you over the next little while, If you have any questions please let me know.

~~~~~~~~~~~~~~

I'm a Ginger Gem! Yay!  I made this card for their Cowboys and Cowgirls  Challenge and mine was one of the ones chosen for honors. Thanks so much, Gingersnap Creations.


Linked Up With: