Showing posts with label Gelli Plate. Show all posts

Tuesday, January 13, 2015

Hand Carved Cake Stamp and Card Set


This year I'm going to try to be a bit better about birthday cards. I'm absolute rubbish. And Facebook made it easier to remember but I left Facebook last year so I'm right back to not.

Carving a cute new stamp seemed as good a place to start as any, no?

And this card set ensures at least four people will get cards this year. Which, sadly, will be a huge improvement.


All the cards were made the same way:

1. Stamp image on white card stock using black Staz-On ink
2. Stamp image on post it note. Cut out and use as a mask to protect the nice clean cake image.
3. Dab Ranger Distress Ink through 'stencil' with a foam cosmetic sponge - in this case the stencil was some old fancy cut out paper... KI Memories I think. Laser cut cardstock was quite a thing a few years back. Note: On the top card, I stamped a Hero Arts French Script stamp with distress ink, let it dry and then stenciled over top.
4. Add a sentiment - these are Papertrey stamps on bits of Gelli Prints.


This one was a little different, same idea but with a number laser cut, no ombre effect and I stamped the sentiment right onto the card like a ribbon.


Friday, December 26, 2014

Gelli Printed Fabric Tool Tote


When I saw decorated tool totes from Harbor Freight Tools on the Gelli Plate blog, I know I had to make one (or a dozen. LOL)

My first one (not pictured) followed their directions more closely, I matted my prints in black felt and sewed down the layers. Then I used hot glue to attach them as I didn't think redline tape was a good long-term fabric-to-fabric solution.


I liked it, enough, but I did not like the behavior of the felt over the week it kicked around my studio. It kind of frayed and shed... not in a good way. 

So I made another one hot gluing the gel-printed fabric directly to the canvas bag.


Much better!


The fabric molded around the curves of the canvas much easier than the stiffer felt.


I added a little bit of waterproof pen outlining and hand writing and some white paint in the darker spots.


So cute! And these bags are intended to carry power tools so they're really sturdy. Perfect for carrying or storing projects.


Thanks for visiting :)

Monday, December 1, 2014

Gelli Printed Heart Tag and Card


Julie Fei-Fan Balzer created a very cool challenge called CarveDecember where you carve a stamp a day all month. I couldn't resist. 

I was torn between making a heart or a texture stamp as I've been playing with clay recently and texture is always useful. After going back and forth a bit I decided to do both - a heart with a pattern so it could provide random swirly dots or be a proper heart, as needed.


One great thing about long hearts is that they interlock into a border very easily. 
For the tag above I simply stamped in Staz-On over top a gelli-printed tag. Then I stamped the heart again on white book paper, cut it out and attached it with foam tape.


For this card, I stamped the heart three times on book paper, cut them out and sewed through the middle of the stack. Then I added them to a stenciled, stamped and gelli-printed background and sewed around the edge. 


Happy December!


Friday, June 13, 2014

Put a Bird on It: Hand Carved Stamp


I adore carving stamps. Seriously, it's so relaxing and it really zones me out in the best way possible. So when I was coveting a very popular bird stamp I decided to make one instead. 

Of course it's completely different in look and feel from the purchased kind with their smooth, thin lines; but I love the rough, hand-of-the-artist look of them. 


As I am prone to do, I made a second stamp to 'color' my birds. This is a tremendous time saver and I always feel so clever when I make a stamp to fill in the colored parts. 

This could have easily been a three-step stamp if I wanted to add another for shading but I really like the look of the single color.


Making a card was easy as can be - a little Basic Gray, a PL journal card and my bird. 


This tag is a mix of collaged gelli-prints (deli paper), paint, stenciling, my stamp (on a manilla tag for heft), torn ledger paper and some sequins. I really like how the strips of gelli-prints imply trees without being too literal. 


Thanks so much for stopping by!


Saturday, January 25, 2014

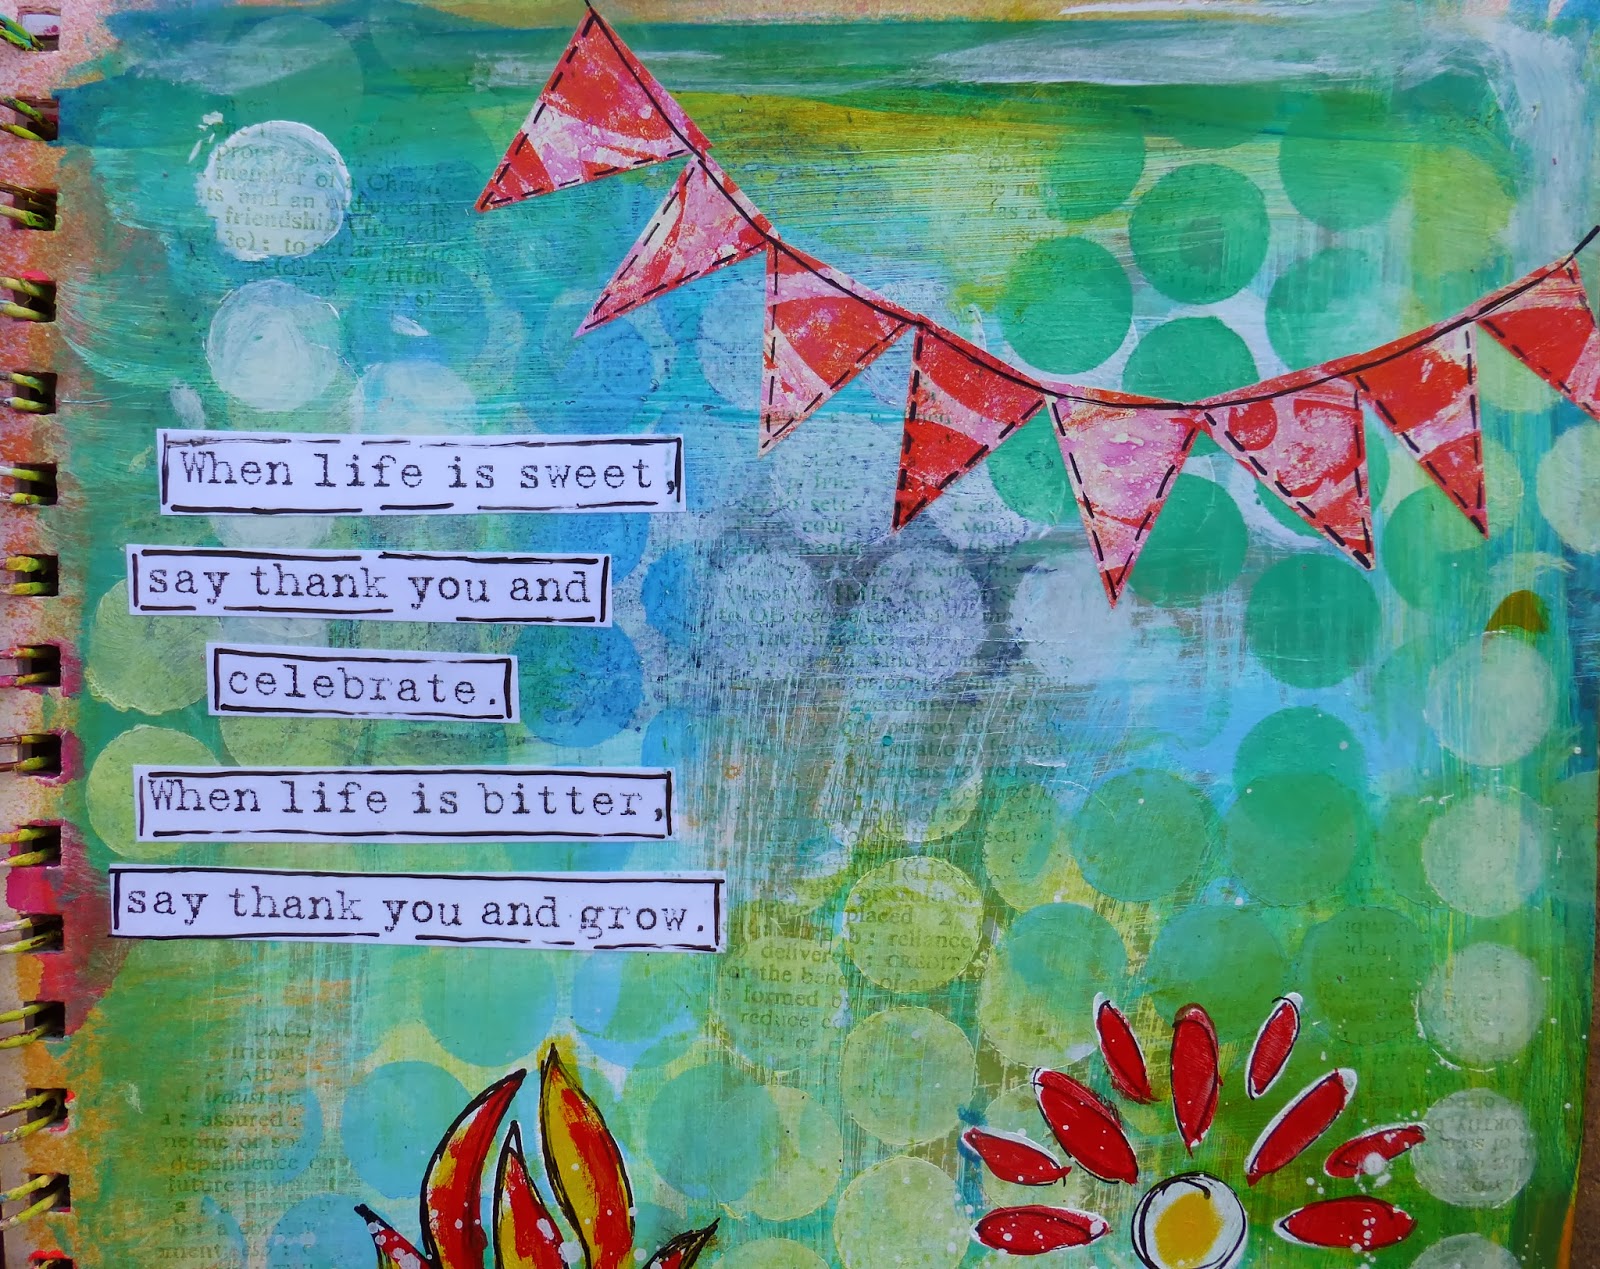
Say Thank You and Grow: Art Journal Page

Click to see this full-sized


This is one of my favorite quotes. I think remembering to be thankful regardless the circumstances is the key to a happy life.

This page happened very organically. I had a miss-mash of orange and pink as the base and I wasn't loving it. So while I was on the phone one day I added a thin layer of green here and there and decided to unify it with stenciling through large holed punchinella.


I ended up being on the phone a long time so I stenciled and stenciled and stenciled, changing the color on my make up sponge slowly from white to blue. There is a ridiculous amount of painted layers on this page but in the end, only the top few show all that much and even though there was a lot going on, it avoids being busy because all the motifs (circles in this case) are the same.


For the banner, I used some gelli prints that tie the flowers in to the page. 

My big fear I was trying to face on this page was using red and green in a non-Christmas setting. I always worry that whatever I make with these two colors will look themed regardless of the images. 

What do you think? Is it Christmasy at all? Did I meet my objective in using red and green in a more generic way? The color scheme is so bold and powerful, I'd love to be able to experiment with it beyond Thanksgiving to New Year.

Art Journal Week Posts:


Thursday, January 23, 2014

Art Journal Page: Home

(click pic to big it!)


Hello Everyone. Welcome back to Art Journal Week!
Are you enjoying it?

One question I've been asked a lot is about my rule, 'paint hits paper before I can use my computer'. How on earth do I do that? What I didn't explain is that I don't mean any big painting session with a finished product - that would be impossible. But I do flip through my art journal(s) and find a page that needs some color or an image that could use some outlining  - something. If I can't find anything (rare) I will pick three colors that suit me that day and paint them on to a background as a starting layer. Some days I add a layer of stenciling, some days a little paint splatter. It's more a few minutes of checking in with my art than any big endeavor. That small act gets my mind in a creative space so when I go back hours later (for me that would be well after 3:00 PM) I'm already warmed up and have ideas I want to get on the page. Hope that makes some sense of a seemingly hard-to-execute concept.

~~~

This page is a warm one - lots of pink, red, yellow and orange with a little mangnese blue for contrast. Here's the background before I added the house and quote:


I used green gelli prints for the house and the door is sheet music colored with Dylusions ink. 


The chevron 'molding' around the door is a napkin that I glued on with Mod Podge. When adding the hot pink ink drips I blotted up the remaining ink with an index card so I could cut out the heart for the door and have it match.


Initially my plan was to use the music paper as pseudo white space but then the drips, oh, the glorious drips! I think white space is wonderful but sometimes more is more and this lively, energetic color scheme seems to clash with restraint. 

Thanks so much for visiting.

Art Journal Week Posts:
Day Four: Home (you are here)

Thursday, November 14, 2013

Altered Spoons


Way back on November 29, 2011 the kids and I decided to kick off the year's Christmas crafts with altering some spoons. 


(I can't get over how little Brayden was! Twelve is a lot younger than nearly fifteen!)


So we made all these beauties


We got a good start on it and then I set them aside. 

Then we got distracted making spool garland and forgot about the spoons.


I put them away with our Christmas ornaments and the next year pulled them out, intending to make use of them but we'd just lost Chris's Dad and Christmas wasn't very crafty.

Come New Year, instead of putting them away, I decided they weren't really Christmas specific and I mixed them in with my craft supplies. And ignored them. Then, late this summer I moved them onto my desk so they'd be in the way and I'd work on them.

Well folks, work on them I did. 

Altered spoons are almost as fun as altered playing cards. You can use up all your bits and pieces and make something marvelous! I think I have a new obsession.

This one has wings made with a Gelli printed Manilla tag.


For this spoon I used a hand made paper bead rolled from one of my collage prints. The wings are Gelli printed card stock.

Thanks for visiting.

Wednesday, November 13, 2013

Dream a New Dream Mixed Media Hot Air Balloons


Good morning, world!

I'm going to keep the commentary short today as I have terrible laryngitis and while it effects my typing not at all, I've sort of lost my juice, my flare, my mojo that je ne sais quoi that helps propel me through the day.

Right now, any propelling results in coughing, asthma and suffering. Ick.

Okay. Whining done. 

Look what I made!


This is all created with the remaining Gelli-prints from my last post (painty hands, castle… go look)


I'm crushing on it hard. 
And apparently my hubby is too as he asked if he could have it for his office.
Which is always equal parts flattering and, 'hey, why don't you like my other stuff?"


So what do you think? I've been branching out and puttting my own spin on things, melding ideas and trying to Steal Like an Artist
You like?

P.S. The free shipping sale in my Society6 expires on the 17th. It's a great deal if you're looking for prints of iPhone cases :-)